• MUS000244
    Air Force Museum of New Zealand
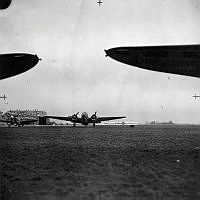
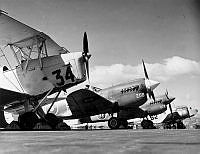
    Image from the Gliddon personal collection. Airfield scene at RNZAF Station Harewood, showing newly assembled Hudson and Kittyhawk, with a line of Tiger Moths behind.
    RNZAF
    Air Force Museum of New Zealand
    World War Two
    WW2
    Harewood
    Hudson
    Kittyhawk
    Gliddon
  • MUS000243
    Air Force Museum of New Zealand
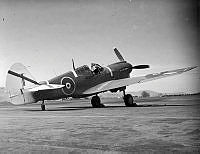
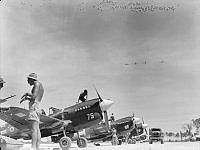
    Image from the Gliddon personal collection. Airfield scene at Norfolk Island, with RNZAF Kittyhawks on the flight line at right, and an ambulance and fire tender at left.
    RNZAF
    Air Force Museum of New Zealand
    World War Two
    WW2
    Norfolk Island
    Kittyhawk
    Gliddon
  • 1988-176.46a
    Air Force Museum of New Zealand
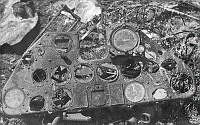
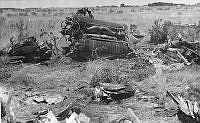
    Image from the Pat Ford personal collection. Wreckage of a Kittyhawk, possibly from No. 2 Operational Training Unit. Unknown location.
    cockpit
    damage
    accident
    Kittyhawk
    WW2
    World War Two
    RNZAF
    Air Force Museum of New Zealand
    Ford
    No. 2 Operational Training Unit
    2 OTU
  • 1988-176.46e
    Air Force Museum of New Zealand
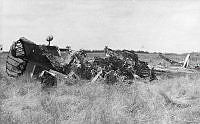
    Image from the Pat Ford personal collection. Wreckage of a Kittyhawk, possibly from No. 2 Operational Training Unit. Unknown location.
    damage
    accident
    Kittyhawk
    Ford
    Air Force Museum of New Zealand
    RNZAF
    World War Two
    WW2
    No. 2 Operational Training Unit
    2 OTU
  • 1988-176.46k
    Air Force Museum of New Zealand
    Image from the Pat Ford personal collection. Wreckage of a Kittyhawk, possibly from No. 2 Operational Training Unit. Unknown location.
    WW2
    World War Two
    RNZAF
    Air Force Museum of New Zealand
    Ford
    Kittyhawk
    accident
    damage
    No. 2 Operational Training Unit
    2 OTU
  • 1988-176.8
    Air Force Museum of New Zealand
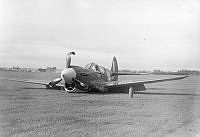
    Image from the Pat Ford personal collection. 3/4 front view of a belly-landed Kittyhawk. Unknown location.
    Ford
    Air Force Museum of New Zealand
    RNZAF
    World War Two
    WW2
    Kittyhawk
    accident
    damage
  • 1988-176.11
    Air Force Museum of New Zealand
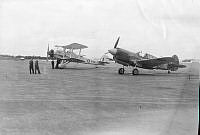
    Image from the Pat Ford personal collection. No. 14 Squadron Kittyhawk NZ3026 HQ-Q and Vincent NZ331 on the tarmac. Unknown location.
    Ford
    Air Force Museum of New Zealand
    RNZAF
    World War Two
    WW2
    Vincent
    NZ331
    Kittyhawk
    NZ3026
    No. 14 Squadron
    14 Sqn
  • 1988-176.12
    Air Force Museum of New Zealand
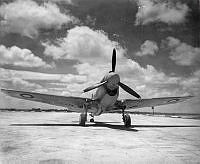
    Image from the Pat Ford personal collection. Front view of a Kittyhawk. Unknown location.
    Ford
    Air Force Museum of New Zealand
    RNZAF
    World War Two
    WW2
    Kittyhawk
  • 1988-176.10
    Air Force Museum of New Zealand
    Image from the Pat Ford personal collection. Line up of various aircraft at RNZAF Station Wigram. L-R: Tiger Moth NZ751, Kittyhawk NZ3208, Kittyhawk NZ3072, Oxford NZ2129.
    Ford
    Air Force Museum of New Zealand
    RNZAF
    World War Two
    WW2
    Wigram
    Tiger Moth
    Kittyhawk
    Oxford
    NZ751
    NZ3208
    NZ3072
    NZ2129
  • 1988-176.9
    Air Force Museum of New Zealand
    RNZAF
    Image from the Pat Ford personal collection. 3/4 rear view of Kittyhawk NZ3072 at RNZAF Station Wigram. Original negative number (now missing) WgG3819-44
    Ford
    Air Force Museum of New Zealand
    RNZAF
    World War Two
    WW2
    Kittyhawk
    NZ3072
    Wigram
  • PR3357
    RNZAF
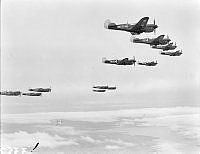
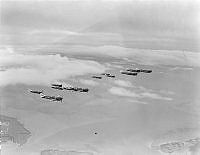
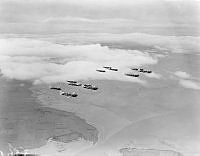
    Air to air view of a formation of No. 19 Squadron and No. 21 Squadron Kittyhawks over Auckland. Aircraft flying from RNZAF Station Ardmore.
    RNZAF
    World War Two
    WW2
    air to air
    formation
    Kittyhawk
    No. 19 Squadron
    19 Sqn
    No. 21 Squadron
    21 Sqn
  • PR3358
    RNZAF
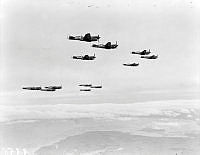
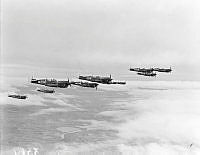
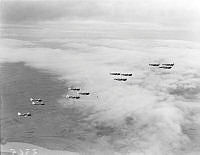
    Air to air view of a formation of No. 19 Squadron and No. 21 Squadron Kittyhawks over Auckland. Aircraft flying from RNZAF Station Ardmore.
    WW2
    World War Two
    RNZAF
    air to air
    formation
    Kittyhawk
    No. 19 Squadron
    19 Sqn
    No. 21 Squadron
    21 Sqn
  • PR3359
    RNZAF
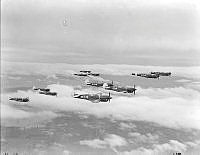
    Air to air view of a formation of No. 19 Squadron and No. 21 Squadron Kittyhawks over Auckland. Aircraft flying from RNZAF Station Ardmore.
    WW2
    World War Two
    RNZAF
    air to air
    formation
    Kittyhawk
    No. 19 Squadron
    19 Sqn
    No. 21 Squadron
    21 Sqn
  • PR3361
    RNZAF
    Air to air view of a formation of No. 19 Squadron and No. 21 Squadron Kittyhawks over Auckland. Aircraft flying from RNZAF Station Ardmore.
    WW2
    World War Two
    RNZAF
    air to air
    formation
    Kittyhawk
    No. 19 Squadron
    19 Sqn
    No. 21 Squadron
    21 Sqn
  • PR3362
    RNZAF
    Air to air view of a formation of No. 19 Squadron and No. 21 Squadron Kittyhawks over Auckland. Aircraft flying from RNZAF Station Ardmore.
    WW2
    World War Two
    RNZAF
    air to air
    formation
    Kittyhawk
    No. 19 Squadron
    19 Sqn
    No. 21 Squadron
    21 Sqn
  • PR3363
    RNZAF
    Air to air view of a formation of No. 19 Squadron and No. 21 Squadron Kittyhawks over Auckland. Aircraft flying from RNZAF Station Ardmore.
    WW2
    World War Two
    RNZAF
    air to air
    formation
    Kittyhawk
    No. 19 Squadron
    19 Sqn
    No. 21 Squadron
    21 Sqn
  • PR3364
    RNZAF
    Air to air view of a formation of No. 19 Squadron and No. 21 Squadron Kittyhawks over Auckland. Aircraft flying from RNZAF Station Ardmore.
    WW2
    World War Two
    RNZAF
    air to air
    formation
    Kittyhawk
    No. 19 Squadron
    19 Sqn
    No. 21 Squadron
    21 Sqn
  • PR3365
    RNZAF
    Air to air view of a formation of No. 19 Squadron and No. 21 Squadron Kittyhawks over Auckland. Aircraft flying from RNZAF Station Ardmore.
    WW2
    World War Two
    RNZAF
    air to air
    formation
    Kittyhawk
    No. 19 Squadron
    19 Sqn
    No. 21 Squadron
    21 Sqn
  • PR3366
    RNZAF
    Air to air view of a formation of No. 19 Squadron and No. 21 Squadron Kittyhawks over Auckland. Aircraft flying from RNZAF Station Ardmore.
    WW2
    World War Two
    RNZAF
    air to air
    formation
    Kittyhawk
    No. 19 Squadron
    19 Sqn
    No. 21 Squadron
    21 Sqn
  • PR3236
    RNZAF
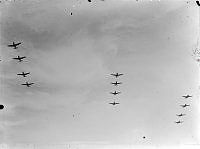
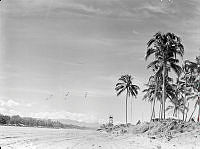
    Ground to air view of a formation of RNZAF Kittyhawks, returning from Rabaul. Believed to be Bougainville.
    RNZAF
    World War Two
    WW2
    Bougainville
    formation
    Kittyhawk
  • PR3304
    RNZAF
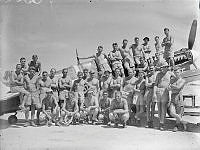
    Informal group of No. 2 Servicing Unit or No. 4 Servicing Unit personnel with a Kittyhawk. Torokina, Bougainville.
    RNZAF
    World War Two
    WW2
    Torokina
    Bougainville
    No. 2 Servicing Unit
    2 SU
    No. 4 Servicing Unit
    4 SU
    Kittyhawk
  • PR3254
    RNZAF
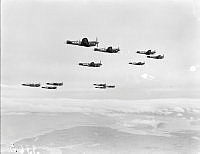
    Formation of RNZAF Kittyhawks returning from a raid. Torokina, Bougainville.
    RNZAF
    World War Two
    WW2
    Torokina
    Bougainville
    formation
    Kittyhawk
  • PR3257
    RNZAF
    Line-up of RNZAF Kittyhawks on the airstrip at Torokina, Bougainville.
    RNZAF
    World War Two
    WW2
    Kittyhawk
    Torokina
    Bougainville
  • 2023-044.30
    Air Force Museum of New Zealand
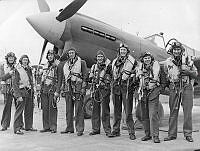
    Image from the Alan Crighton personal collection. Informal group of No. 15 Squadron pilots in front of a Kittyhawk at RNZAF Station Whenuapai. L-R: Ian McKenzie, Guy Youngs, Gethin Hillyard 'Garth' Owen, JJ deWillimoff, Horace Jensen, John Mackie, Ian Murdoch, Eric Wagstaff.

    RNZAF
    World War Two
    WW2
    Air Force Museum of New Zealand
    Crighton
    Whenuapai
    No. 15 Squadron
    15 Sqn
    Kittyhawk
  • 2023-044.28_p2
    Air Force Museum of New Zealand
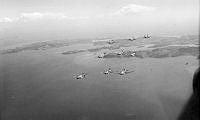
    Image from the Alan Crighton personal collection. Air to air view of a formation of No. 15 Squadron Kittyhawks over a coast.
    RNZAF
    World War Two
    WW2
    Air Force Museum of New Zealand
    Crighton
    air to air
    formation
    Kittyhawk
    No. 15 Squadron
    15 Sqn