Informal group of RNZAF officers at RAF Station Cranwell, England.
This PRS series was found without a register or other information. Some detail has been gleaned from some of the negative sleeves or where the picture has been published.
This series post-dates the DM series and pre-dates the post-war PR series (beginning in 1956).
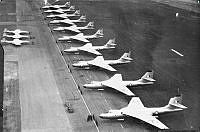
Aerial oblique view of No. 138 Squadron Valiants lined up on the tarmac. Unknown location.
This PRS series was found without a register or other information. Some detail has been gleaned from some of the negative sleeves or where the picture has been published.
This series post-dates the DM series and pre-dates the post-war PR series (beginning in 1956).
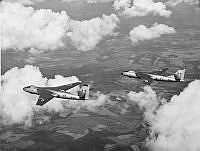
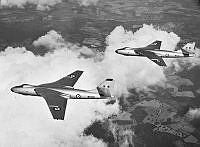
Air to air view of two No. 138 Squadron Valiants in formation.
Copied from RAF prints circa 1954.
WP220 (left) and WP213 (right).
This PRS series was found without a register or other information. Some detail has been gleaned from some of the negative sleeves or where the picture has been published.
This series post-dates the DM series and pre-dates the post-war PR series (beginning in 1956).
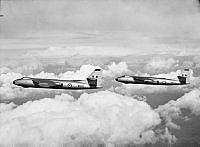
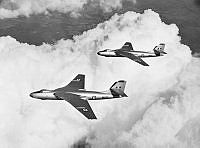
Image from the Ossian William D'Ath personal collection.
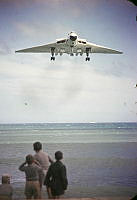
Air show for the opening of Wellington airport at Rongotai.
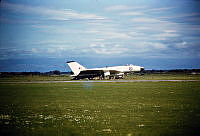
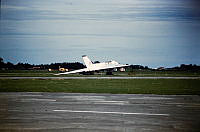
No. 617 Squadron Vulcan XH498 approaching for a low pass over the airfield during the flying display.
Soon after this photo was taken the aircraft hit an undercarriage on the ground and crash landed at RNZAF Station Ohakea.
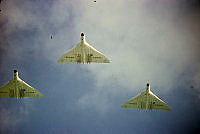
Image from the Ossian William D'Ath personal collection.
Air show for the opening of Wellington airport at Rongotai.
Three No. 617 Squadron Vulcans flying over the airport in formation.
L-R: XH502, XH499, XH498.
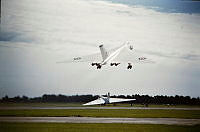
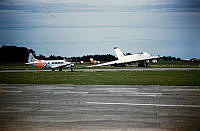
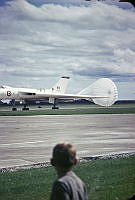
Image from the Ossian William D'Ath personal collection.
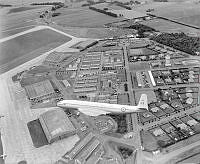
No. 617 Squadron Vulcan XH502(?) taking off with the crash-landed Vulcan XH498 in the background. RNZAF Station Ohakea.
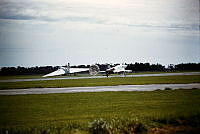
Image from the Ossian William D'Ath personal collection.
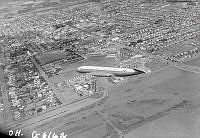
USAF Hercules landing with the crash-landed Vulcan XH498 in the background. RNZAF Station Ohakea.
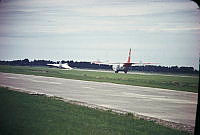
Image from the Ossian William D'Ath personal collection.
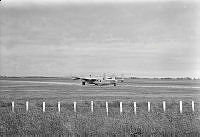
USAF RF101 Voodoo landing with the crash-landed Vulcan XH498 in the background. RNZAF Station Ohakea.
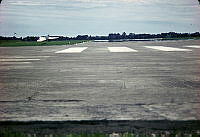
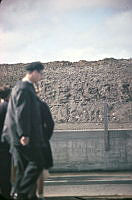
Image from the Ossian William D'Ath personal collection.
Air show for the opening of Wellington airport at Rongotai.
Dirt bank at the end of the runway that was hit by the undercarriage of No. 617 Squadron Vulcan XH498 when approaching for a low pass over the airfield during the flying display.
The aircraft later crash landed at RNZAF Station Ohakea.
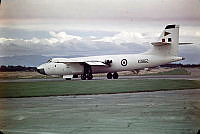
Image from the Ossian William D'Ath personal collection.
RNZAF 21st Anniversary Open Day at RNZAF Station Ohakea.
3/4 rear view of No. 90 Squadron Valiant XD862 on the tarmac.
Image from the Ossian William D'Ath personal collection.
RNZAF No. 75 Squadron aerobatic team practicing their routine with the crash-landed Vulcan XH498 in the background. RNZAF Station Ohakea.