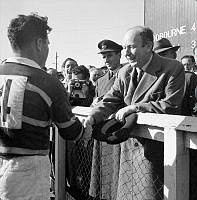
Member of an RNZAF football(?) team shaking hands with an unknown man. Believed to be in Wellington.
This PRS series was found without a register or other information. Some detail has been gleaned from some of the negative sleeves or where the picture has been published.
This series post-dates the DM series and pre-dates the post-war PR series (beginning in 1956).
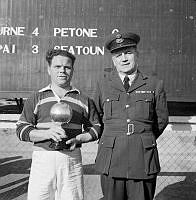
Winning football(?) captain holding a trophy. Believed to be in Wellington.
This PRS series was found without a register or other information. Some detail has been gleaned from some of the negative sleeves or where the picture has been published.
This series post-dates the DM series and pre-dates the post-war PR series (beginning in 1956).
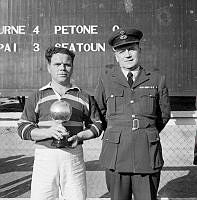
Winning football(?) captain holding a trophy. Believed to be in Wellington.
This PRS series was found without a register or other information. Some detail has been gleaned from some of the negative sleeves or where the picture has been published.
This series post-dates the DM series and pre-dates the post-war PR series (beginning in 1956).
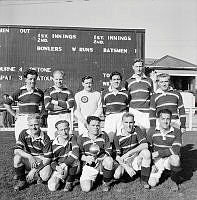
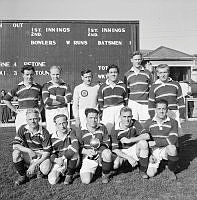
RNZAF football (?) team with their trophy. Believed to be in Wellington.
This PRS series was found without a register or other information. Some detail has been gleaned from some of the negative sleeves or where the picture has been published.
This series post-dates the DM series and pre-dates the post-war PR series (beginning in 1956).
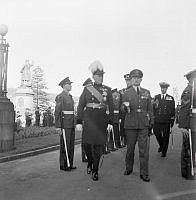
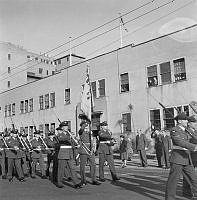
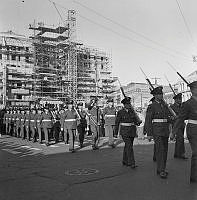
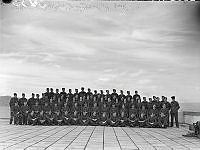
The Governor General, Sir Willoughby Norrie, inspecting the RNZAF Parade for the Opening of Parliament in Wellington.
This PRS series was found without a register or other information. Some detail has been gleaned from some of the negative sleeves or where the picture has been published.
This series post-dates the DM series and pre-dates the post-war PR series (beginning in 1956).
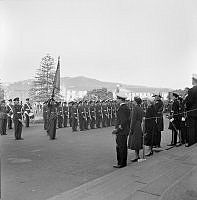
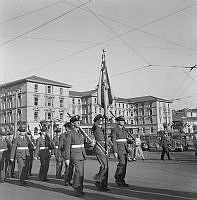
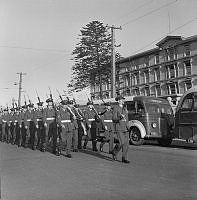
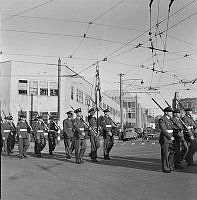
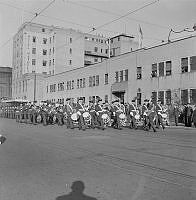
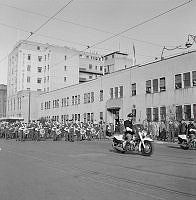
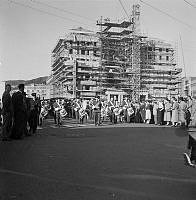
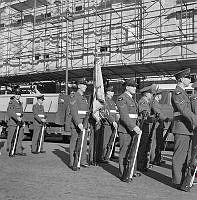
RNZAF Parade along Bunny Street for the Opening of Parliament in Wellington.
This PRS series was found without a register or other information. Some detail has been gleaned from some of the negative sleeves or where the picture has been published.
This series post-dates the DM series and pre-dates the post-war PR series (beginning in 1956).
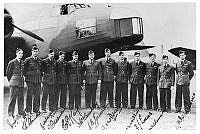
Copy of pilots of No. 75 Squadron personnel, and signatures, with a Wellington at RAF Station Marham, England.
L-R: Flying Officer Collins, Flight Lieutenant Hunter, Flying Officer Adams, Pilot Officer Freeman, Squadron Leader Kay, Wing Commander Buckley - Officer Commanding, Flying Officer Greenaway, Flight Lieutenant Breckon, Flying Officer Williams, Flying Officer Lucas, Flying Officer Coleman, Pilot Officer Williams.
See ALB8737528001 for a better quality image without signatures.