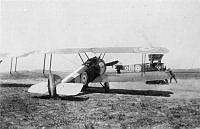
Image from the Harold Francis Beamish personal album collection.
3/4 rear view of HF Beamish's No. 203 Squadron Sopwith Camel B3855. Unknown location. Beamish claimed three victories and three shared victories in this aircraft.
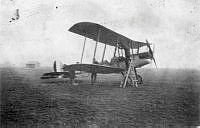
Image from the Harold Francis Beamish personal album collection.
3/4 rear view of HF Beamish's No. 3 Squadron, RNAS, Sopwith Camel N6377. Unknown location.
A painted fernleaf fuselage art appears on the top of the fuselage on the light panel.
Beamish claimed two victories and two shared victories in this aircraft.
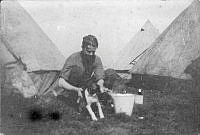
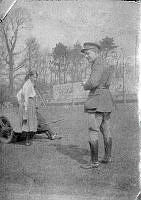
Image from the Harold Francis Beamish personal album collection.
Two unknown men taking part in an unknown activity. Unknown location.
Same background as in several other photos in this collection.
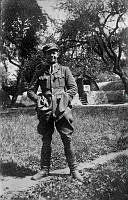
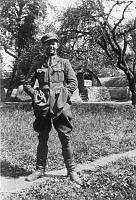
Image from the Harold Francis Beamish personal album collection.
Full length portrait of an unknown pilot. Could this be Beamish?
Same image as ALB942099009. Same background as ALB942099012
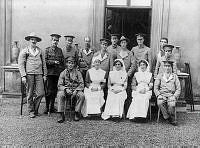
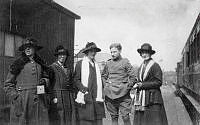
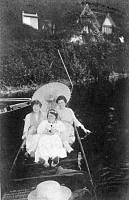
Image from the Harold Francis Beamish personal album collection.
Group. Three nurses with twelve convalescent patients at unknown location.
Handwritten on the reverse "To Mr Beamish with best wishes for Xmas from MJ [unreadable]. Some of the N.Z. boys in hospital in my ward"
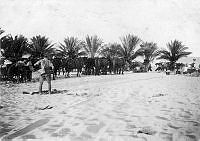
Image from the Harold Francis Beamish personal album collection.
Mounted Rifles horse team stopped at an Oasis (?). Unknown location in Palestine (?).
Handwritten captions reads "Note [unreadable] of Acre in palms"
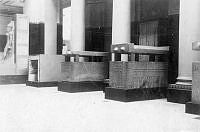
Image from the Harold Francis Beamish personal album collection.
"Granite tombs with lids raised". View of a display of sarcophagi in a museum. Believed to be in Cairo.
This does not relate to the service of HF Beamish. Could it be either a visit to Cairo during the voyage home or perhaps relating to the several other photos in the album which relate to the NZEF in Palestine (see images with suffix numbers 036 - 040).
Image from the Harold Francis Beamish personal album collection.
Members of the Mounted Rifles rest in the shade of a tree with a grave in the foreground. Believed to be in Palestine.
Image from the Harold Francis Beamish personal album collection.
View of ANZAC Cove (?) from a boat with (Australian?) soldiers.
Handwritten in the album "Plugges Plateau | Walkers pier left"
Believed to be related to the service of Beamish’s older brother, Captain George Eric Hamilton Beamish OBE, who was wounded at Gallipoli in 1915.
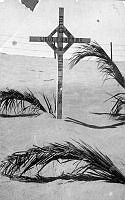
Image from the Harold Francis Beamish personal album collection.
Cross grave marker of Englishman Lieutenant TD Ker, Royal Engineers. Kantara, Egypt.
Handwritten in the album "Grave of officer killed in my tent by bomb"
This is believed to be Lieutenant Thomas Darling Ker, Royal Engineers. Killed at Kantara, Egypt, 1 June 1916.
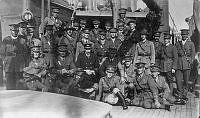
Image from the Harold Francis Beamish personal album collection.
Large group of officers on board a ship. Unknown ship or location.
Two of them are Priests and the ships captain(?) at centre.
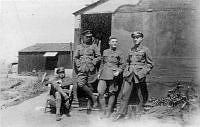
Image from the Harold Francis Beamish personal album collection.
Group of pilots pose for the camera outside a building. Unknown location.
This is the same building as in several other photos in this album.
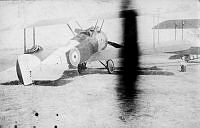
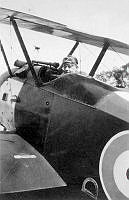
Image from the Harold Francis Beamish personal album collection.
HF Beamish sitting in the cockpit of his Camel. Unknown location.
This is either No. 3 Squadron RNAS or No. 203 Squadron RAF.
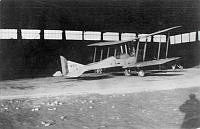
Image from the Harold Francis Beamish personal album collection.
Side view of Royal Aircraft Factory BE2 B4571 in the open door of a hangar. Unknown location.